Here is the Part-2 of tutorial-6....


Open up the background.psd file....
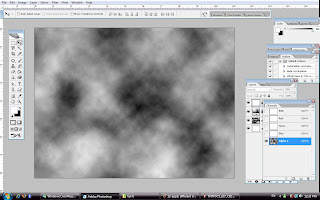
apply filter>>render>>clouds effect ...
And adjust the 'Hue/saturation'....

Create new channel and apply clouds effect again....
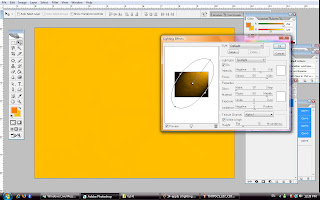
Apply the lighting effect....

Create new layer and new alpha channel,then apply fibers on it....

Back to RGB channel and apply lighting effect again....

Apply same step just now,but apply the different color...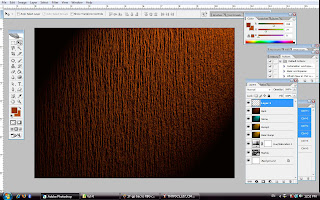
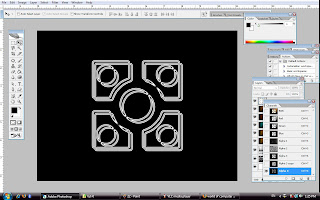
Create a rectangle....
Hold down the Alt key to make few copy of it....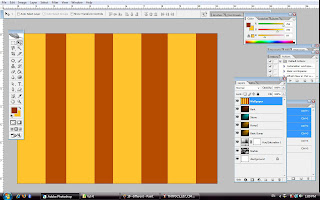
Apply the lighting effect again...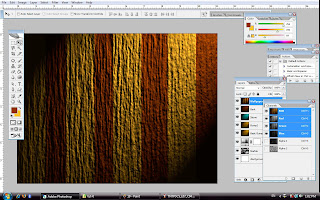
Choose the logo at the path there....
Create Alpha three for that...
Apply stroke...

Apply calculation...
Change the belnding mode to 'different'....

Bring up the 'curve' box....
adjust the curve and save it for further use....
Open the 'twenty' image...
And drag it into the image...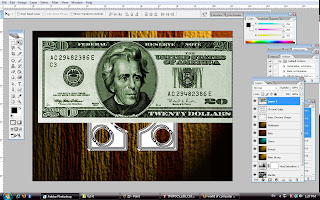
Adjust the 'Hue/Saturation'....
Apply gaussian blur on it....repeat for three time(apply gaussian blur)....
Adjust the level options....
Use the 'cuve' that saved just now and apply it...
Select the layer1 and Basic chrome shape....
And create a layer mask on it....
Change the layer blending mode to 'different'....
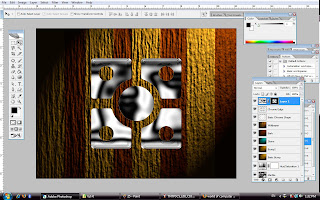
Use 'Hue/saturation' to colorize it.....
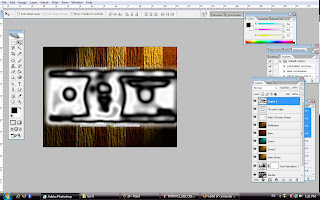
Turn off the visibility of the wallpaper and bark layer.....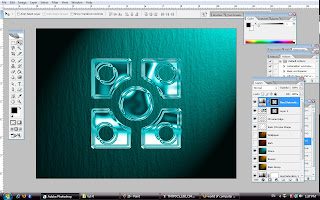
Use the original path,create a new larger logo(free transform)....
Make the selection and make a new layer,filled up with white color....
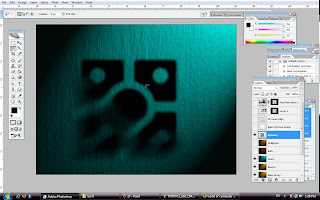
Apply gaussian blur again....
Use lasso tool to select an area at the left bottom side of the logo,feather it....
Apply motion blur to it....adjust the angle and distance....
Create new layer mask,use gradient tool to make the layer slightly transparent....
Reduce the opacity....

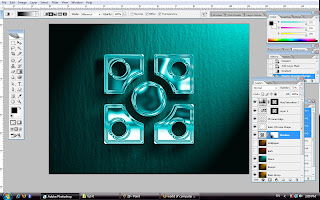
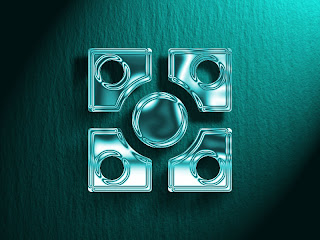
And so, this is my final work....
apply filter>>render>>clouds effect ...
And adjust the 'Hue/saturation'....

Create new channel and apply clouds effect again....

Apply the lighting effect....


Create new layer and new alpha channel,then apply fibers on it....

Back to RGB channel and apply lighting effect again....

Apply same step just now,but apply the different color...

Create a rectangle....
Hold down the Alt key to make few copy of it....

Apply the lighting effect again...

Choose the logo at the path there....
Create Alpha three for that...
Apply stroke...

Apply calculation...
Change the belnding mode to 'different'....

Bring up the 'curve' box....
adjust the curve and save it for further use....

Open the 'twenty' image...
And drag it into the image...

Adjust the 'Hue/Saturation'....
Apply gaussian blur on it....repeat for three time(apply gaussian blur)....
Adjust the level options....
Use the 'cuve' that saved just now and apply it...

Select the layer1 and Basic chrome shape....
And create a layer mask on it....
Change the layer blending mode to 'different'....

Use 'Hue/saturation' to colorize it.....
Turn off the visibility of the wallpaper and bark layer.....

Use the original path,create a new larger logo(free transform)....
Make the selection and make a new layer,filled up with white color....
Apply gaussian blur again....
Use lasso tool to select an area at the left bottom side of the logo,feather it....
Apply motion blur to it....adjust the angle and distance....
Create new layer mask,use gradient tool to make the layer slightly transparent....
Reduce the opacity....


And so, this is my final work....


